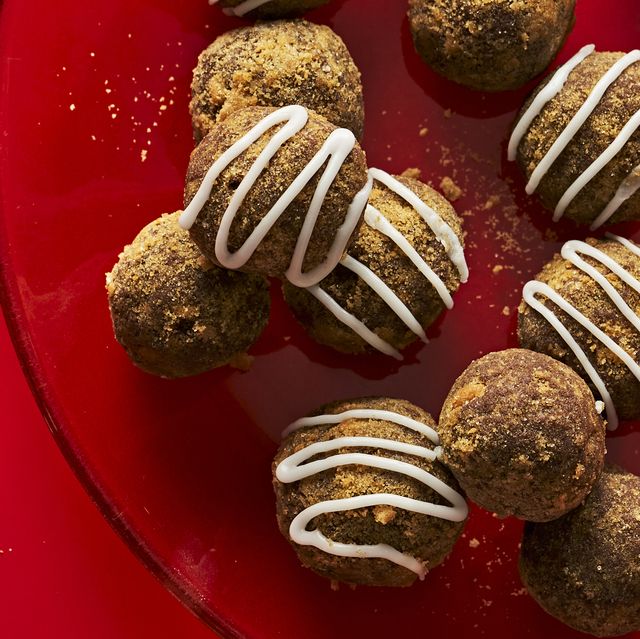
The holiday season is upon us, and what better way to spread cheer than by making your own Christmas lollies? Whether you’re looking for a festive treat to share with loved ones or a creative gift idea, crafting the perfect Christmas lollies can be a delightful experience. In this guide, we’ll walk you through the steps to create mouthwatering and visually appealing lollies that capture the spirit of the season.
Ingredients and Tools
Before diving into the creative process, gather all the essential ingredients and tools to make your Christmas lollies a success. You’ll need:
- Chocolate Melts or Candy Wafers: Choose high-quality white, milk, or dark chocolate melts, or colorful candy wafers to form the base of your lollies.
- Lolly Sticks: Ensure you have sturdy lolly sticks for easy handling and presentation.
- Decorative Toppings: Sprinkles, crushed candy canes, edible glitter, and festive sprinkles add a festive touch to your lollies.
- Parchment Paper: To prevent sticking, have parchment paper ready for your lollies to set.
- Cookie Cutters or Molds: Shape your lollies into festive figures using Christmas-themed cookie cutters or molds.
Step 1: Melt the Chocolate
Begin by melting your chosen chocolate or candy wafers. Use a microwave-safe bowl or a double boiler for a gradual and controlled melting process. Stir occasionally to achieve a smooth consistency. Be cautious not to overheat the chocolate, as it can affect the texture.
Step 2: Pouring and Setting
Once the chocolate is melted, carefully pour it into your chosen molds or shape it on parchment paper using a spoon. Insert the lolly sticks into the chocolate, ensuring they are securely placed. Allow the lollies to set in the refrigerator until firm.
Step 3: Unmolding
If you used molds, gently remove the lollies once they are fully set. If you shaped them on parchment paper, carefully peel them away once the chocolate is solid. Be patient to avoid any breakage.
Step 4: Decorating
Now comes the fun part – decorating your Christmas lollies! Dip them into melted chocolate again for a smooth finish, and then sprinkle festive toppings to add color and texture. Consider creating patterns or combining different toppings for a visually stunning effect.
Step 5: Personalisation
Get creative and personalise your Christmas lollies by adding names or messages using edible markers. This extra touch turns your lollies into thoughtful gifts or place settings for holiday gatherings.
Step 6: Packaging
To present your Christmas lollies as gifts, wrap them in clear cellophane or place them in festive treat bags. Tie with colorful ribbons or add a gift tag for an extra-special touch. Sharing these handmade treats is a wonderful way to spread joy during the holiday season.
Tips for Success
- Choose high-quality chocolate for a rich and satisfying flavor.
- Experiment with different toppings and combinations to discover your signature Christmas lolly.
- Allow enough time for the lollies to set properly before decorating or packaging.
- Store the finished lollies in a cool place to prevent melting.
Conclusion
Crafting the perfect Christmas lollies is a delightful and rewarding holiday activity. Whether you’re making them for yourself or as gifts for others, the process of creating these festive treats adds a personal touch to the season’s celebrations. With a bit of creativity and the right ingredients, you’ll have a batch of Christmas lollies that are not only delicious but also a beautiful addition to your holiday festivities. Enjoy the sweet moments of the season!


